Bike ride to Sanjo no Yu


Entrance


Hello Cavepoops--I mean, peeps.  Eeps, I mean Oops.

When I was so crazy about Mt. Kumotori, I took a bike ride to the area once.  I started from my home in Akishima, Tokyo and headed toward Okutama along Ome Kaido and Okutama Kaido.  Eventually, I passed Lake Okutama and entered the forest.  For the last 10 km, I rode along the forestry road and finally the hiking trail to the Sanjo no Yu.  That is really the limit that a bicycle could go.  Actually, to get to the point I did get, I had to carry my bike over rocks or log bridges at more than one point.  

Area:

Location:

Map:  

Online Interactive Topo Map of Sanjo no Yu

***The Caveman gave up on posting links to Yama to Kogen maps.  They are great maps but the publisher updates them almost annually and the links die.  Comment if you want me to get you a link to the latest Yama to Kogen map.

Starting and stopping points: My old abode in Akishima

Peaks bagged: none

Getting there/getting around:  
I started pedaling the minute I left my home.

Helpful Info

Weather Information: 

Time and distance

Total Time: 8:59  Break time: :08  Distance:  133km
Elevation:  Lowest: 104 m Highest: 1,102m Total Ascent: 6,373m  Total Descent: 6,373m

Technical considerations/difficulty:  

Be careful on the trail.  It's not for bicycles.  Be very courteous to any hikers if you come across any.

Facilities:  

The Sanjo no Yu is a mountain hut.  It does have a hotspring bath but it is a mountain lodge accessible only on foot after a long hike (or bike ride for cheeky visitors.)  You can stay there in the lodge or at one of their campsites by the stream outside.  The Sanjo no Yu is used by many people on their way to, or back from, Mt. Kumotori.
 

Thoughts/observations/recommendations:  

That was fun!

One of the ways that I got the hiking bug was doing things like this.  

My Japanese outdoor adventures started small.  A short dayhike here or there was all I'd tried for years.  Then, I got a bicycle after not really having one for a long time.  I started riding on the roads around western Tokyo where I lived and worked.  Then one day, for some reason, I left the pavement and got on a gravel road.  I didn't realize just then but what I had gotten on was called a "rindo", (林道), a forestry road.  I followed that road until it ended and realized that I was near the top of a mountain I knew!  I got off the bike and cut across country the last bit to the top of a mountain.  Oila.  A knew hobby of mine was born.  I call it hikeling.  So, after spending a lot of time around Mt. Kumotori and looking at maps, I realized I could get to nearby Sanjo no Yu by pedal power.  Once I realized that, I had to do it.

Let's look at some pictures.

from home

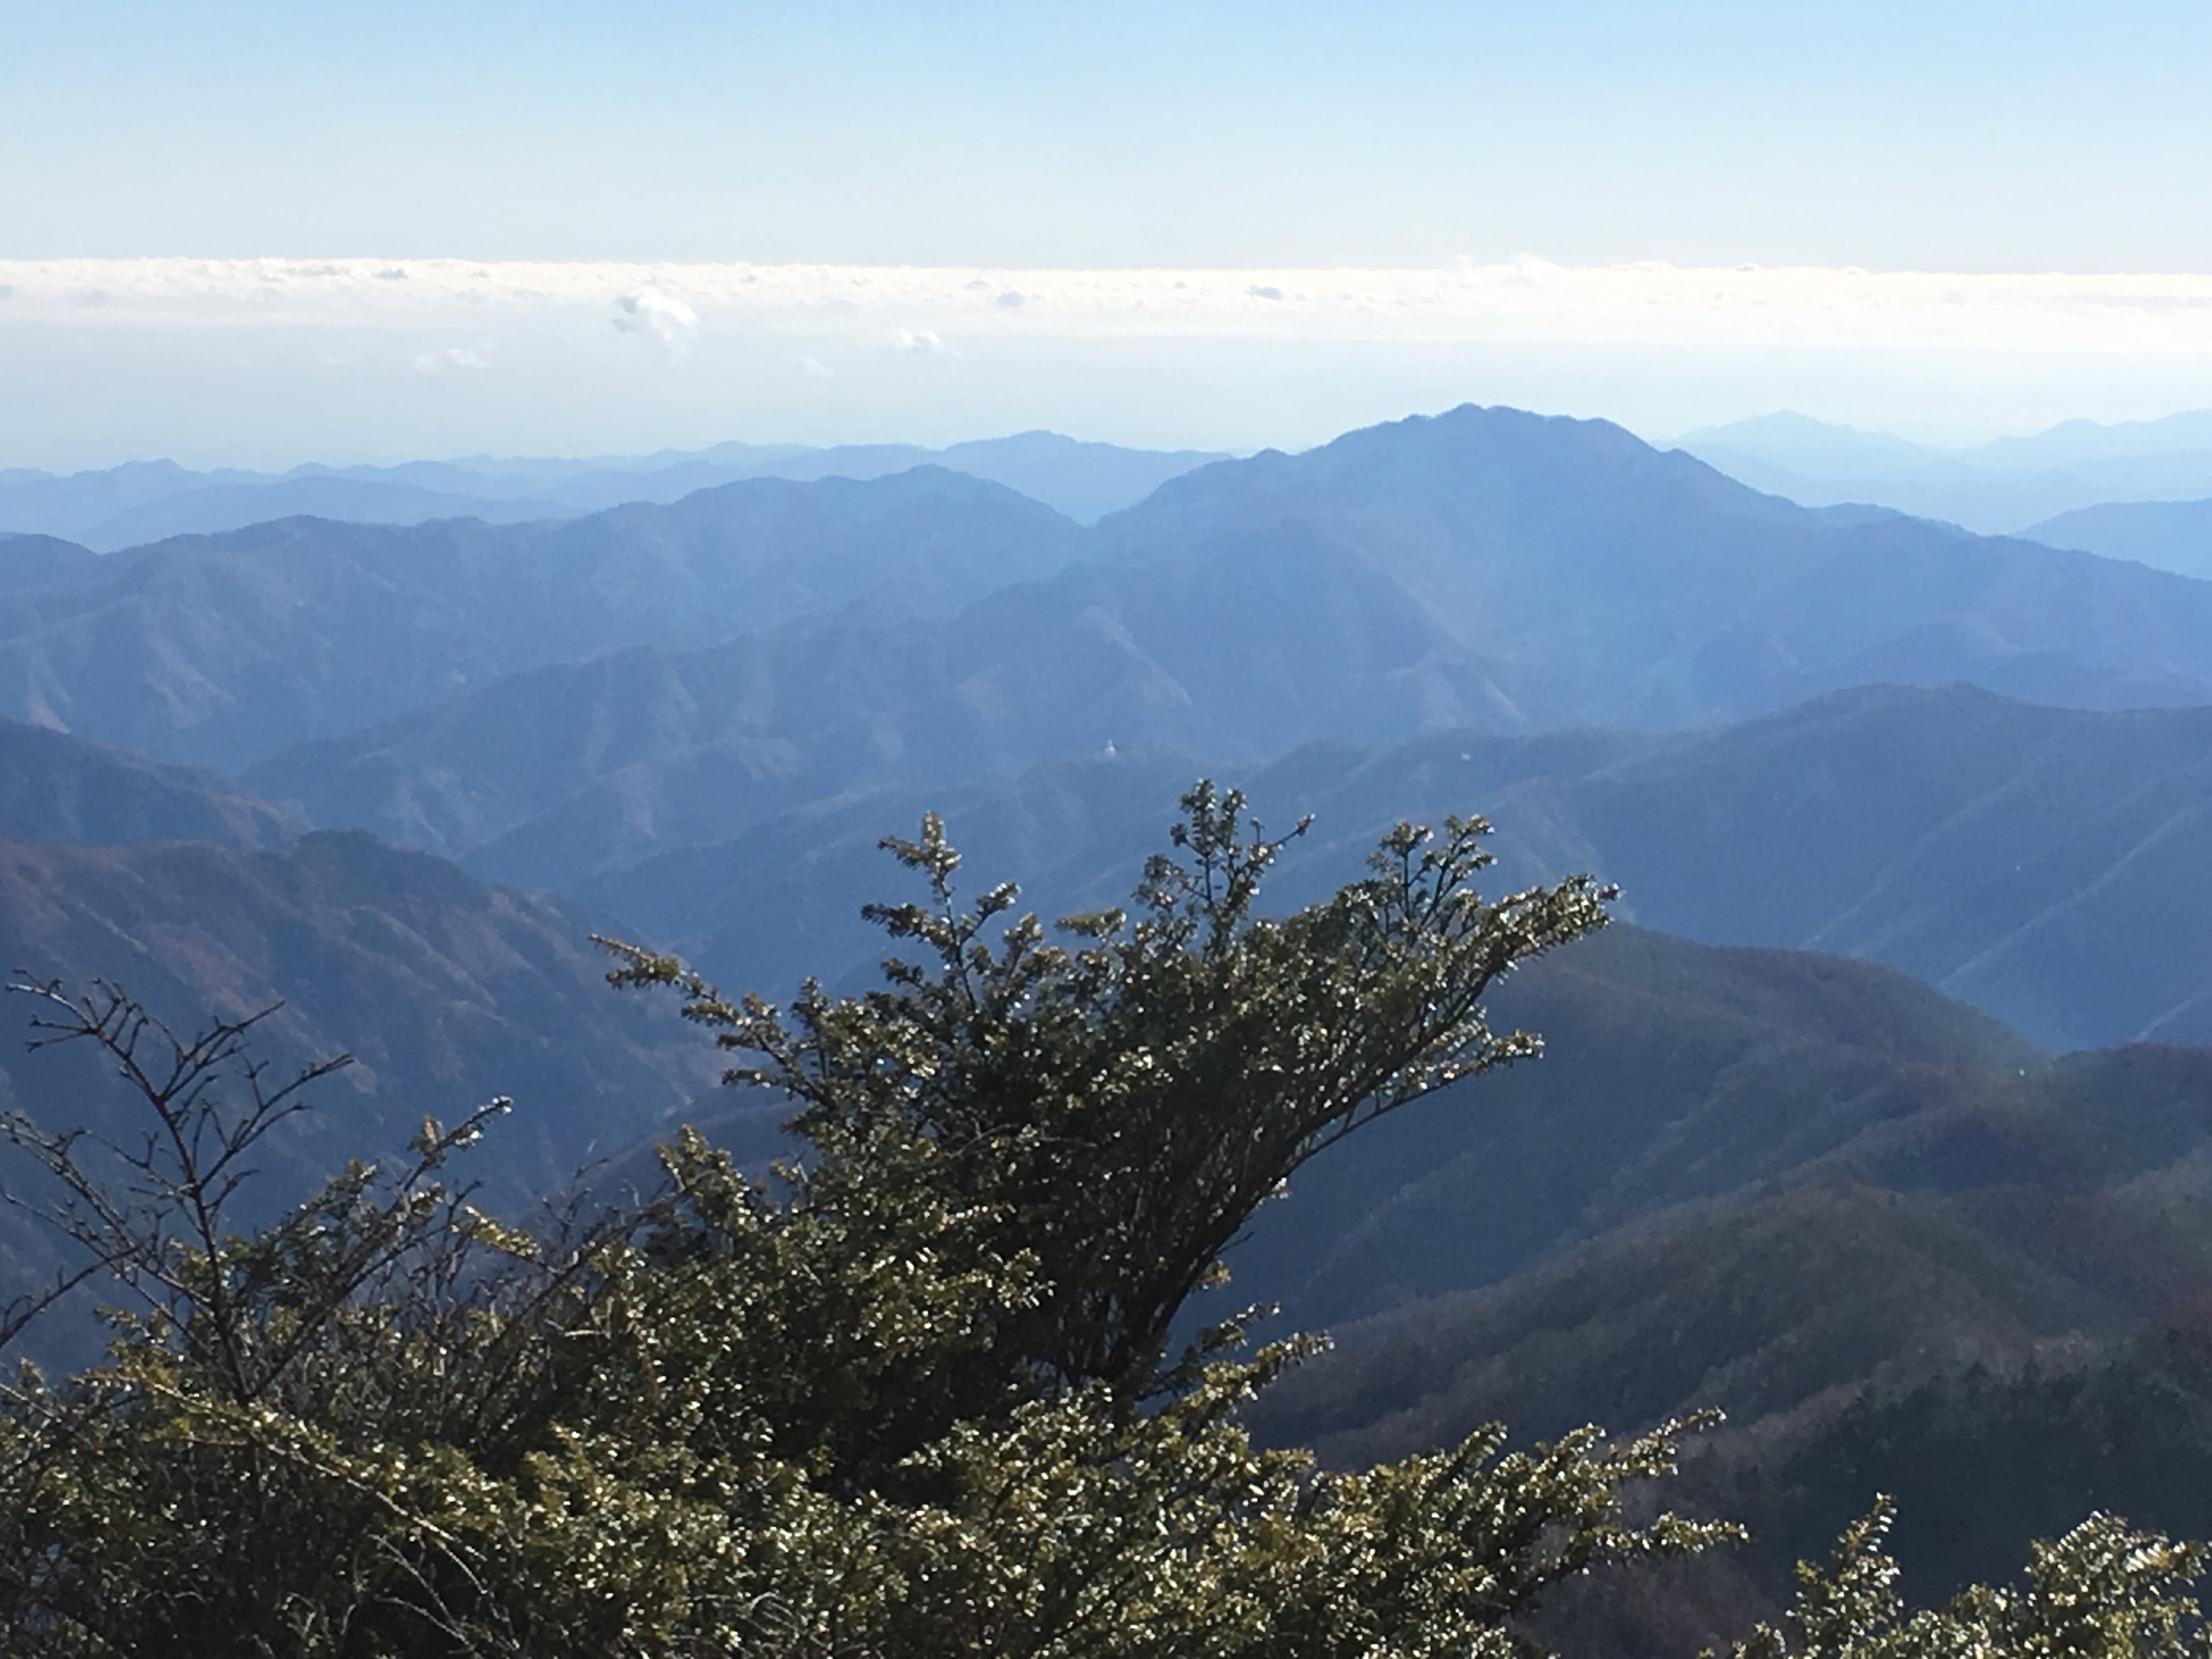
Mt. Kumotori is the mountain at the top left of the map.  雲取山

rindo map


The floating Miyama Bridge across Lake Okutama.


Lake Okutama


Yes, I crossed that bridge.
(No, I wasn't riding!)


Inside the Sanjo no Yu
It's a happening spot.
They sell deer jerky.  I thought that was cool.


Well, that's it for the Sanjo no Yu.

And that's it for this collection of posts about nearby Mt. Kumotori.
If you want to see one of those, check out 
or


Kumotori from the Great White North. Mitsumine Shrine~Kumotori~Okutama Station


sunrise from Kumotori


Hey there, cavecritters.  This is a hike from Mitsumine Shrine, Saitama to Mt. Kumotori and then on to Okutama Station made over two days in March of one year.  Check it out.

Area:


Location:

Map:  

Online interactive topo map

***The Caveman gave up on posting links to Yama to Kogen maps.  They are great maps but the publisher updates them almost annually and the links die.  Comment if you want me to get you a link to the latest Yama to Kogen map.

Starting and stopping points: Mitsumine Visitor's Center Okutama Station

Peaks bagged: many

Getting there/getting around:  
Get a bus from Seibu Chichibu Station to the Visitor's Center.  (About 1 hour 20 minutes.)  Seibu Chichibu Station is about 2.5 hours from Shinjuku.
There is also parking at the visitor's center if you want to drive.

Helpful Info

Weather Information: 

Time and distance

Total Time: 12:42 (over 2 days)   Break time: 1:18  Distance:  34km
Elevation:  Lowest: 342m Highest: 2,017m Total Ascent: 2,689m  Total Descent: 3,395m

Technical considerations/difficulty:  

It's a taxing hike.  You need spikes and maybe other snow equipment in winter.

Facilities:  

The Mitsumine Visitor's Center really impressed me.  It was worth dropping in to see all the taxidermied animals and exhibits.  

The Mitsumine Shrine is also worth looking at before beginning the hike.

Kumotori Lodge  is on the north side of the peak.  You can stay and eat there, too.

Kumotori Evacuation Hut:  Right next to the peak.  There is a public restroom up there, too.

Kumotori Helipad  Nice to know in case there is an emergency.  Do not pitch a tent on the helipad, though!

Nanatsuiishi Mountain Lodge  You can stay there also.  There's food and water.


I heard through the grapevine that they are building campsites near the Kumotori Helipad.  I can't confirm it, though.

There are waterholes near the helipad, the Nanatuishigoya and near Mt. Takanosu.  

Thoughts/observations/recommendations: 

This is fun.  The north side of Kumotori had more snow than the south side.  

There are also several minor peaks near the Mitumine Shrine that I have been to on other treks.  Saitama has many mountains that may not be that high but that do deserve respect because of their ruggedness and remoteness.

map of chichibu to kumotori

OK, let's look at some pictures.

Seibu Chichibu Station


Mitsumine Visitor's Center


Mitsumine Shrine


sign


On with the spikes


Kumotori Lodge


Top of Kumotori


Taken from the Evacuation Hut


Evacuation Hut


What a sunrise that was


After spending the night at the Kumotori Evacuation Hut, I descended to Mt. Nanatsuishi ("Seven" "Stones") and got onto the Ishi Ridge for the beautiful but long walk to Okutama Station for the train ride home.


Well, that's it for now.  Caveman, out.


More of Kumotori?
Honorable mention

Back to Future Again. Caveman bullied by a deer on his second trip to Mt. Kumotori.


snow

Hello Cave peeps

I'm posting more of Mt. Kumotori, the highest point in Tokyo.  I first climbed this on October 23, 2018.  I liked it so much that I did it again exactly one month later.  For this trip, I took a different route and camped "wild."  Make sure you keep reading the post to find out just how wild it was.

Area:

Location:

Map:  

Online interactive topo map

***The Caveman gave up on posting links to Yama to Kogen maps.  They are great maps but the publisher updates them almost annually and the links die.  Comment if you want me to get you a link to the latest Yama to Kogen map.

Starting and stopping points: Kamosawa Bus Stop  Okutama Station

Peaks bagged: many

Getting there/getting around:  
Get a bus from Okutama Station to Higashi Nippara Bus Stop.  (27 minutes.)  Okutama Station is the terminus of the Okutama Train Line.  That is about 2 hours from Shinjuku.

Helpful Info

Weather Information: 

Time and distance

Total Time:  12:35 (over 2 days) Break time: :36  Distance:  31.5km
Elevation:  Lowest: 590 m Highest: 2,017m Total Ascent: 3,143m  Total Descent: 3,134m

Technical considerations/difficulty:  

It's a taxing hike.  This route is a bit less used than the first one I used.  It's a bit more remote and there is more climbing to do.

Facilities:  


Kumotori Evacuation Hut:  Right next to the peak.  There is a public restroom up there, too.

Kumotori Lodge  is on the far side of the peak.  You can stay and eat there, too.

There is water on the trail only for the first few miles.  Make sure you have enough to make it through the night and the next day.  

Thoughts/observations/recommendations:  

That was awesome!


Pics from day 1
Fuji


The top of Kumotori


Kumotori's evacuation hut


After going over the top of Kumotori, I kept going straight towards Taba Village in Yamanashi.  I had no idea where I was going to pitch my tent.  I came across this lovely (so I thought) spot called Okamidaira.

tent

As I was pitching my tent, I heard a high squealing/squeaking noise.  I had no idea what it was.  A bird?  A monkey?  I kept looking around while I was setting up.

I had to hurry in getting my tent up.  Daylight was burning.

Then I saw this guy.


That was the first time I identified the sound.  It was this deer barking.  I'd never heard a deer's bark before.

This guy (gal, probably actually) kept circling my tent and coming close to me until about midnight.
Check this video out.  Make sure your sound is on.

So, that was my wild camping experience.  I haven't pitched a tent wild much since then.  If I can get into an evacuation hut, I go there.

Day 2 Pictures:

It snowed overnight.  What a beautiful morning it was!

snow

snow


Mrs. Caveman calls snow magic.  I think she's right (sometimes.  Sometimes it's a nuisance.😜)


My footsteps had a satisfying crunching sound as I walked over the frosty leaves of the bamboo grass.


Well, that's all for now.  Check out the other trips to Kumotori here.


Caveman out.