I was playing with some old pictures the other day and realized that they really deserved video treatment.
Check out the original blogpost here, if you like. If you plan on climbing Fuji this year, you really need to know some new information I shared in the updated version.
Greetings and salutations cave ladies, cave gentlemen and cave children of all ages. Today I'd like to tell you about a trip to Japan's Northern Alps region.
First, let me give you some details and stats. Then I'll show you some pictures.
Location:
Japanese Northern Alps (The Hida Mountain Range). The border between Takayama City, Gifu Prefecture and Matsumoto City, Nagano City
Maehotakadake, Okuhotakadake. These names are often shortened to "Maeho" and "Okuho."
A word on the names. The main name for this collection of peaks is Hotakadake. "Ho"means something like "ear" (of corn) or "point" and "taka" means "high." "Dake" means "peak".
The peaks specifically are "Maehotaka", "Nishihotaka", "Okuhotaka" and "Kitahotaka." "Mae"="front." "Nishi"="west." "Oku"="inner part" or "recess." "Kita" means "north."
Getting there/getting around:
Private cars aren't allowed as far as Kamikochi. You must take a bus. You can get one from Matsumoto or from far away exotic places like Shinjiku or Tokyo. One bus company is here: Alpico Bus . This web site has great access information. Access Leave a comment to ask me for advice if you need help choosing a route from where you are.
3 days/2 nights 18 hours, 51 minutes hiking (but we were sloooooow)
Elevation:
Lowest point: 1,500 meters Highest: 3,190 meters. Total ascent 2,200. Total descent 2,200 meters.
Technical considerations/difficulty:
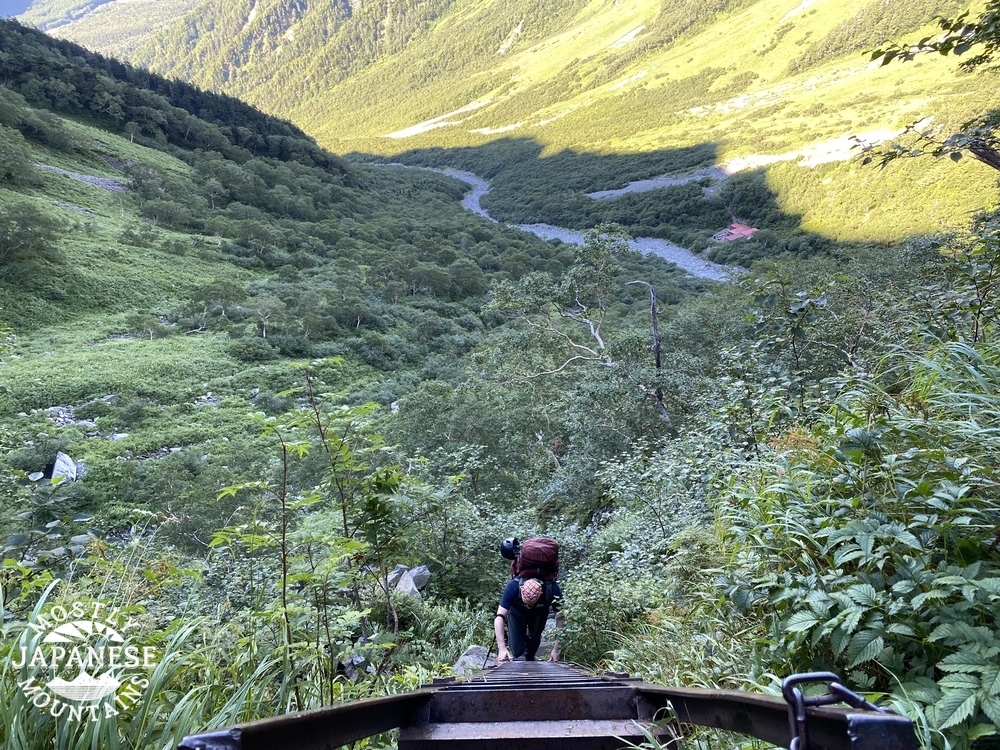
Fairly challenging. Part of this route, from Dakesawa Hut to Kimiko Daira, has the steepest ascent in the Alps. There are many places with chains, ropes or ladders. There are many spots that necessitate climbing with both hands and feet. Much of the route is above the tree line and some spots are quite exposed. All that said, this route to Okuhotaka is not as challenging as the Nishihotaka side, the Gendarme or the Daikiretto to the north. Those demand more technical ability and strength. Helmets on the route we chose are definitely recommended but ropes and harnesses aren't necessary. This site is a treasure trove of information on all things Kamikochi. Kamikochi trekking information
Facilities:
There are several huts in the area where food and lodging are available. Each of the huts typically has tenting sites and even rental equipment to the point where going camping "tebura"* is possible. (*"tebura" "手ぶら" means "hands hanging by one's side", ie empty-handed) Along with the usual souvenirs and snacks, mountaineering clothes and boots are available for purchase. Kamikochi is really an Alpine paradise of sorts. Each of the huts has pay toilets as well. On the trail, there is nothing between huts. I always wonder what females do about the call of nature up there. I know what I do. Shhhh. Let's keep that between us. 😉
Thoughts/observations:
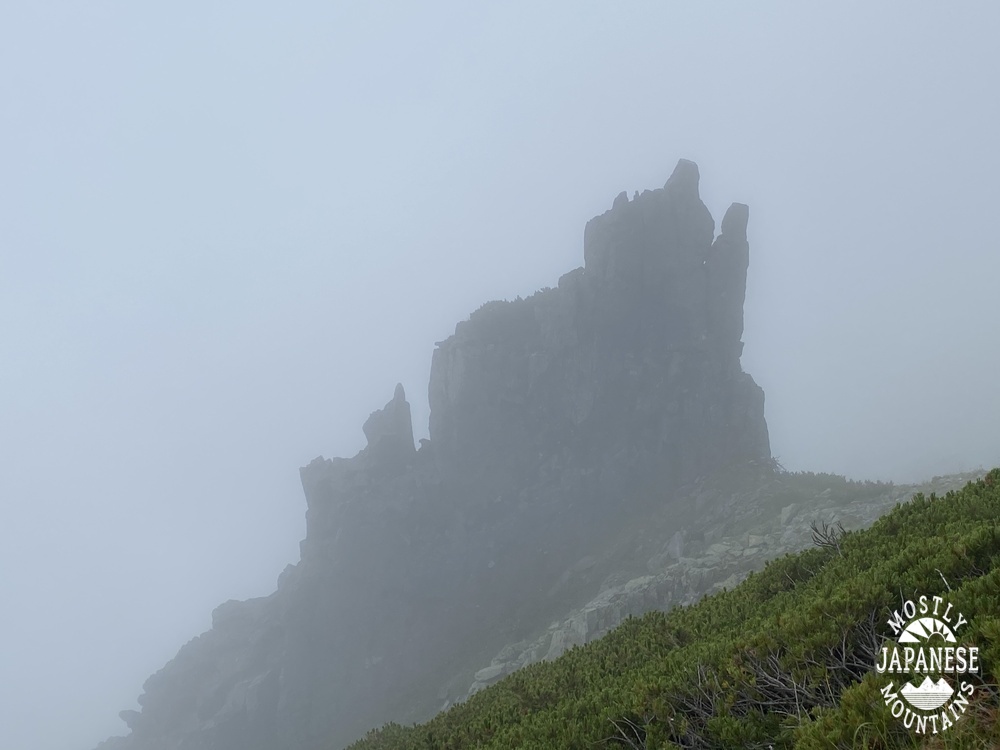
I wish I had the time and money to do a trip like this every day. What a place. The weather wasn't the best for this hike but it was still great. August in Japan does not offer too many clear skies and it was a bit of a disappointment not to get any completely unobstructed views of the mountains from the bottom or of their surroundings from the tops. The best season for hiking in the area is fall. The air is crisp and clear and the fall foliage is gorgeous. Unfortunately, that's when all the people show up. The place we tented at the second night has sites for 800 tents--and it does get full during leaf-peeping season. The caveman goes to the mountains to get away from people so a few clouds in August is ok by him.
This is in the Visitor's Center
Just a few minutes up the trail and we reached this famous bridge which is called Kappa Bashi.
The Azusa River is so clean. I don't think I have ever seen such clear water in a river with so much volume.
This sign is similar to warnings I've seen a million times. "A bear was sighted at so and so on such and such a date." Usually it's sometime long previous. This is the first time I have ever seen a sign dated the same day I was reading it and for the exact place I was going. Yikes.
After walking a bit by the river with all the crowds, the trail starts and the crowds thin out.
This is a nice place to cool off. Cold air emanates from the cave.
A rare sighting of the sun. It was hiding for a lot of this trip.
On day 1 we hiked up to the Dakesawa Hut and pitched our tents nearby. From there we could see the ridge we would be walking along the next morning.
Day 2, looking south from the Dakesawa area just after starting out.
Caleb with the Dakesawa Hut in the background.
It was around this point that Caleb realized his boots were falling apart! Both his right and left soles picked this precise moment to start falling off. This was a potential disaster as we were already well into our trip but luckily he was able to hold the soles on with tape he had in his first aid kit. They don't call him MacGyver for nothing. (Actually, they don't, but I think they should.) He applied tape at this point and again the next morning. That tape held up for 10 miles! Thank God.
*Note to self. Put tape in first aid kit.
**Note to self. Make first aid kit.
Shortly after Caleb had his blowout, we separated for a bit. I took the spur up to Maehotaka while he kept heading on to Okuhotaka. We figured we should try to lessen the burden on his boots as much as possible. Since he was moving slowly, I was able to get to that summit and back on our trail to catch up with him around lunch.
This is where the trail up to Maehotaka starts and where we parted. Maehotaka is about 25 minutes up and 25 minutes back to the ridgeline trail to Okuhotaka.
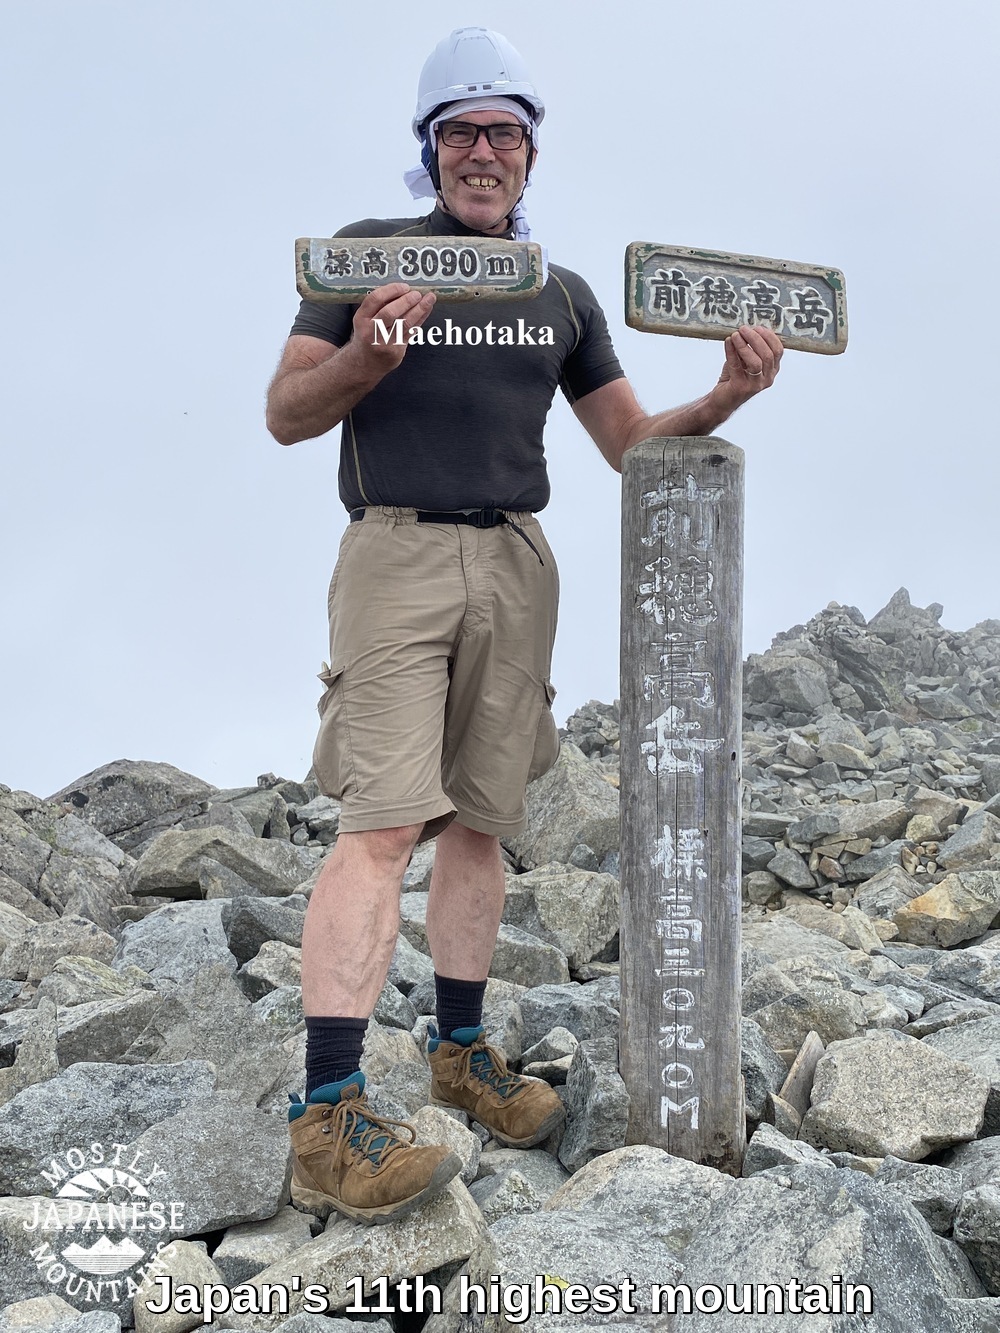
Do you like my helmet? I didn't have one before this trip. I didn't feel like shelling out the money for something with a brandname on it so I went to Workman, a store that specializes in clothes and equipment for construction workers. It worked fine.
I am not the first person to think of this. A Japanese guy started chatting me up on the trail by noting how big my pack was. I told him I'm けち (cheap) and so was tenting instead of staying in a hut. We both chuckled about being cheap or broke and I pointed at my helmet. He got really excited and pointed at his, saying "Mine, too." His had a Montbel sticker on the side but he said, "sticker only, not real one." 😂
Speaking of helmets. Rentals up there are available. I'm not 100% sure of locations renting them but you need to come back the same route so you can return it to the place you rented it from.
Some pictures from the Tsuri One. (吊り尾根)= "Suspended Ridge"
After getting up and down Maehotaka and walking along the south side of the Tsuri Ridge for a bit, I got my first look down below at the Karasawa Hut on the other side of the ridge. That's where we would pitch our tents for the second night.
I think it's so cool to see snow in August.
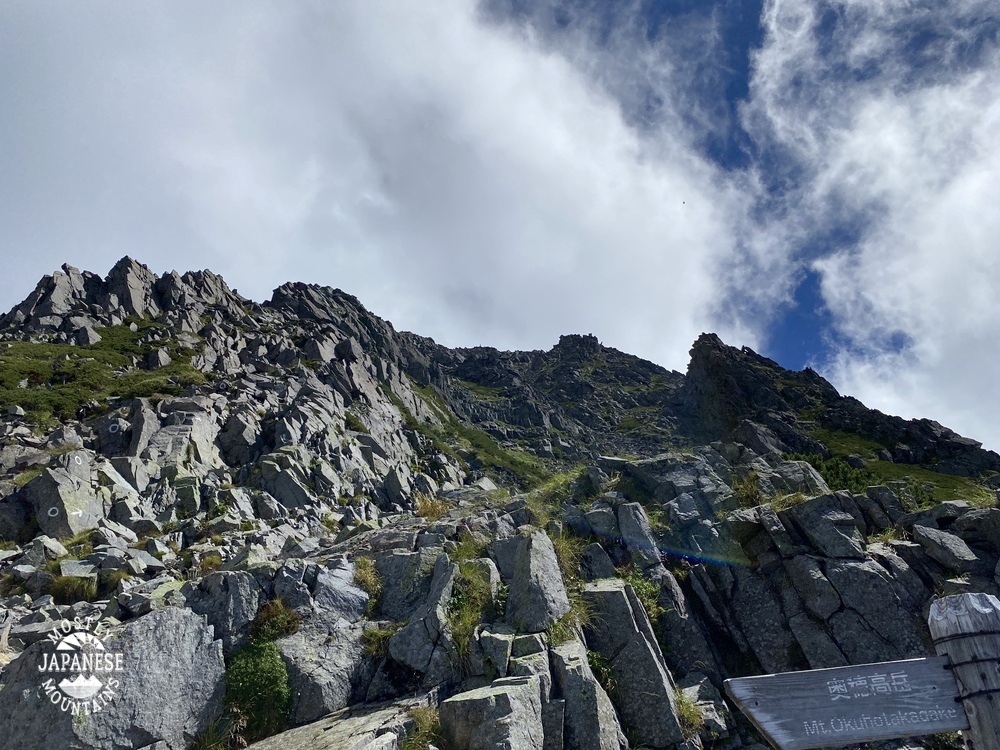
The top of Okuhotaka.
That is called a "raicho" (雷鳥) in Japanese. It is grouse or ptarmigan in English. I like a more direct translation of the Japanese though--"thunder" "bird".
This hundred meter or so drop to the hut was pretty gnarly. You really need to watch where you put your feet and hands.
This hut was closed except for tenting from August 21 through 27 because someone on the staff got COVID. I hope they're ok. That closing must have inconvenienced a lot of people.
Let's have a moment of silence. This sign gave its all for you and me.
This is the information board at the Karasawa Hut. Obviously you see the weather and other bits of information. On the left are statistics about rescues and accidents from July 1 until August 22. The map shows the locations. The blue and white paper on the bottom in the middle shows the causes and resolutions of the accidents.
If it ain't raining, it ain't training.
People make fun of my big, bulky, dorky tent. I like the roominess though.
We convered more distance on day 3 than on days 1 and 2 combined. After a few hours coming down through scree and mountain trails from the Karasawa area, we hit pretty flat trails next to rivers that would lead us back to the Kamikochi Bus Terminal.
The Hondani Bridge
Let's hear it for Caleb's boots. That repair held up for ten hard miles.
His boots more than earned this badge of honor.
Well cave cats and cave chicks, that's it for today. I can't wait to do something like this again.
Take care of yourselves. Stay dry and always carry some tape.
Leave a comment. Subscribe. Buy me a coffee and I will contribute to Caleb's boot fund.
Want to see a report on Japan's second and fourth-highest mountains? Check out Kitadake and Ainodake. The grandaddy of them all is Mt. Fuji, of course.
Mrs. Caveman knows me better than I know myself. About a week ago she asked me, "Are you going to climb Mt. Fuji this year?" I thought that was a strange question. Another hike up there was the last thing on my mind. Well, here it is just a week later and I am blogging about another hike up Mt. Fuji.
Maybe she just wanted to get me out of the house for a day?
This time, I opted to go up from the south side. We live to the northeast of Fuji so I have always avoided that side because it seemed too inconvenient. The usual routes to get to that part of the mountain from here would entail long, expensive train rides. No thanks. The Caveman is a cheapskate. Well, on a few of my recent trips to mountains on Izu, I passed through Gotemba and realized I could take my scooter to the area around the Fujisan trailheads more cheaply than taking the trains.
I climbed the Fujinomiya Trail from the 5th Station.
Let me get the statistics and details out of the way.
Getting there:
The trailhead is on the Fuji Skyline (Route 152). This is closed to private traffic during the hiking season between July~September 10th and you must go to the trailhead by bus. There are buses from Mishima Station, Shin-Fuji Station or Fujinomiya Station if you are coming by train. If you are coming by car, you can get much closer to the trailhead than one of those stations. Fujikyu Bus Co. is the bus company that runs from the train stations. Even though I can speak and read Japanese, I find their bus schedules notoriously difficult to understand and even hard to find. Using googlemaps to check transportation routes doesn't give you their accurate schedules. Fujikyu's phone number for that area is 0545712495.
Since the Skyline is closed to private traffic, you still need to take a bus for that part of the trip. You can park at Mizugatsuka and catch a shuttle bus from there to the trailhead at the 5th Station's bus stop. (Fujinomiyaguchigogome 富士宮口5合目). That shuttle bus runs from 6 am til 5 pm on the hour. It's about a 30-minute ride. ¥2,000 roundtrip. Parking at the Mizugatsuka Parking Lot is ¥1,000.
This shuttle is run by a different outfit and was really hard to find on the web. If you can read Japanese, this page will help you: http://www.pref.shizuoka.jp/kensetsu/ke-210/fujisan/ Click on 2 よくある質問and a PDF with prices, schedules and departure points for shuttle buses to the traiheads of both the Fujinomiya and the Subashiri Trails will appear. I just checked this link (August, 2023) and it's dead. Rather than put up another specific link that is likely to go dead, I'll suggest you try this search yourself of the Shizuoka Prefecture's page Good luck.
The hard lesson I've learned about public transportation in the mountains is to check, check, check--and then check again. More than once I have had hikes "extended" by miles when I got out of the woods to a bus stop only to find out that the bus I'd planned on riding wasn't running that day. Bus schedules that change with the various natural and holiday seasons are very easy to mistake.
The hike:
I got on the first bus at 6:00 so was on the trail at 6:30. I got to the Fujinomiya Shrine at the top around 9:30 and then walked all the way around the crater and just a little passed the Fujinomiya Shrine where I had lunch on a rock at the top of the Subashiri Trail around 11~11:30. From there, I headed down to Mt. Hoei before bouncing back to the Fujinomiya Trail to get to the bus stop. I was back at the bus stop about 1:45. It was 13.5km. The starting elevation was 2,400m and the top of Fuji is 3,776m. During the hike, I went up 1,652m and down 1,640m.
This was my first time to climb Fuji during the day successfully. Some friends and I were turned back by bad weather on a previous attempt a few years ago. The convenience of a daytrip was nice. Even though it meant leaving home at 3:00 am, it was nice to be home for dinner that night! That is a major pro of doing Fuji this way and from this route. Another pro for me of this plan was the different perspective. Since most of my life I have been looking at Fuji from the northern side, it was neat to look at it from the south. Mt. Hoei and its crater on the south side are cool. Cons of this type of schedule include the loss of the view as the morning progresses. Fuji typically gathers a lot of clouds by about 9 or 10 am at this time of year so the best views of it are while you're still on your way up. By climbing at night and catching the sunrise on top I was able to get long views before the clouds came. When I was on top yesterday, I couldn't see much of anything down below. Another con is the sun. I didn't feel that it was particularly sunny . . . but I got a sunburn. And that is despite wearing a hat and sunscreen.
Clothes. I spent most of the day in shorts and a t-shirt. I did have a fleece with me and a few other items but didn't need the fleece except when I sat down to eat. That is a pro of doing it during the day. At night, it's coooooold and I needed a wool hat and an actual jacket.
I did notice that the type of hikers I encountered on a daytrip tended to be different than on the overnight trips. There were quite a few families with kids and this was, in many cases, a bad idea. Many of the kids were fine. They are like monkeys. They aren't as heavy as adults and seem to be able to climb well. Some other kids, though, were over-tired and miserable. Please, know your own and your kids' abilities before you decide to bring them up there. I saw more than one father carrying two backpacks. I saw some kids just passed out on the trail and parents trying to coax them up to get moving. One mother was carrying a backpack and trying to piggy-back her (rather large) child.
There are lots of websites with information and tips on climbing Mt. Fuji. It's not my intention of being the definitive guide to Mt. Fuji with this post. I just like sharing my pictures and experiences! If you want to ask me any questions, feel free. You can even do that anonymously if you like. None of the comments I receive get published until I look at them so if you want to say something just between you and me, you can do that.
Let's look at some pictures.
On the way up. That black bump is Mt. Hoei.
On either side of the trail were these two posts.
I'd love to know more about this tradition. There is a USMC training center on Mt. Fuji. Do any of you know why these Marines and sailors have put their rank insignia here? For that matter, what is the significance of the Japanese coins?
This is the Mannnen Yuki Hut. (Mannnen Yuki, 万年雪, means something like "perpetual snow.")
There are many of these huts on the mountain. They provide a place for resting, eating, buying souvenirs or emergency necessities and pay toilets. One of the cool things they do is brand your walking stick with their particular sign. Last year, when I climbed Fuji with my son, I cut my walking stick in half and split it with him. I cut my half down even more so that it is very portable and I can take it back to Fuji again and again. The stamp I'm pointing at in the picture was put there at the Mannen Yuki Hut yesterday.
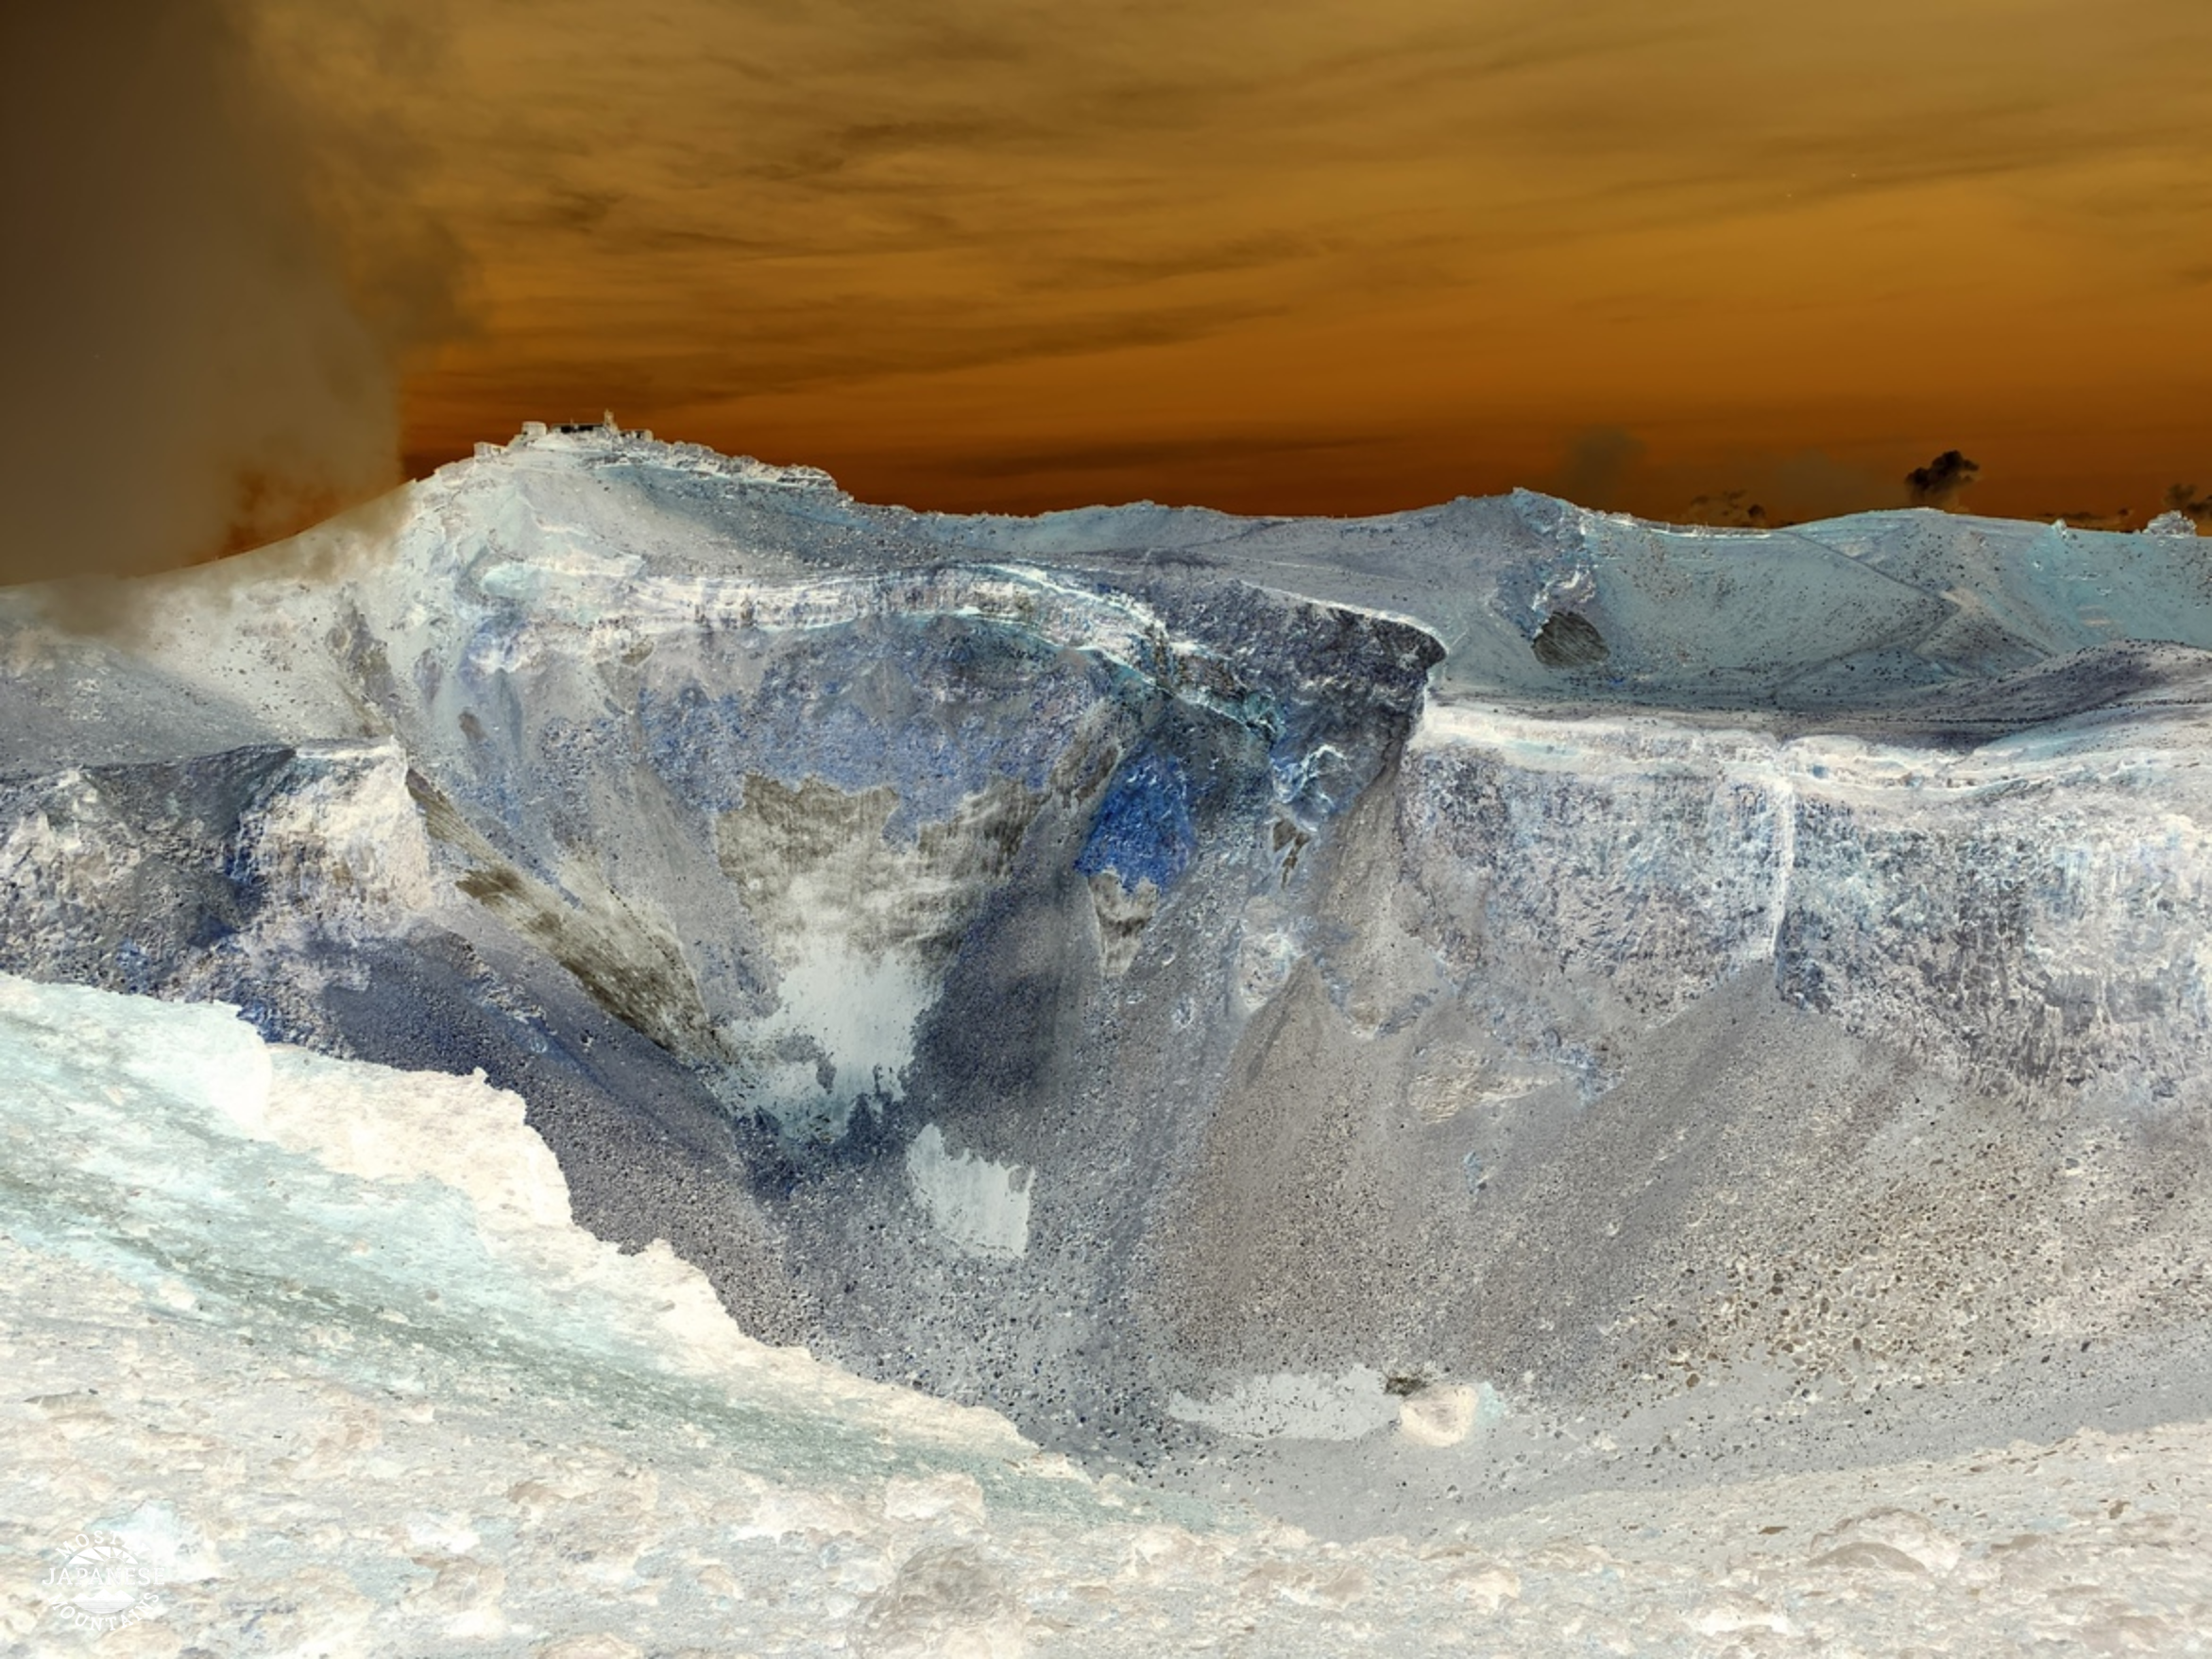
Speaking of perpetual snow . . .
This is the top of the Fujinomiya Trail.
I remember first being on the rim of the crater in the late 90s. It was a cold, windy day. It was so windy that I was afraid to go this close because it felt like I'd be blown inside.
This is the tippy-top. 剣ヶ峰--"Kengamine" is what they call this peak. The component characters are "sword" and "peak" but together they mean crater rim.
My apologies for the ugly face in the pic. I tried to take one just of the monument, too, but there were a million people around.
I wanted to show this picture as a representative of one of the ground surfaces here. These rocks are very light because they are very porous. They make a crunching sound when you walk on them.
This is another type of ground cover you encounter on Fuji. This surface is very black, small rocks. This is easy to walk on. I actually found myself running here. Nearby, these rocks get smaller and it turns into very deep sand. That is hard to walk up. Going down is easy. You can slide/run down it.
This is heading toward Mt. Hoei.
The peak of Mt. Hoei.
The crater by Mount Hoei. I really wish I had some clearer pictures of this for you. It's cool.
Time to head home and dream up the next adventure.
Thanks for dropping by. Thanks to all the new subscribers. Wow.